How to enable invoicing for users
By default, users pay directly with a card after each charging session. To simplify the payment process, you can activate invoicing. This method accumulates all charges incurred by a user over the month, allowing them to make a single payment at the end of the month instead.
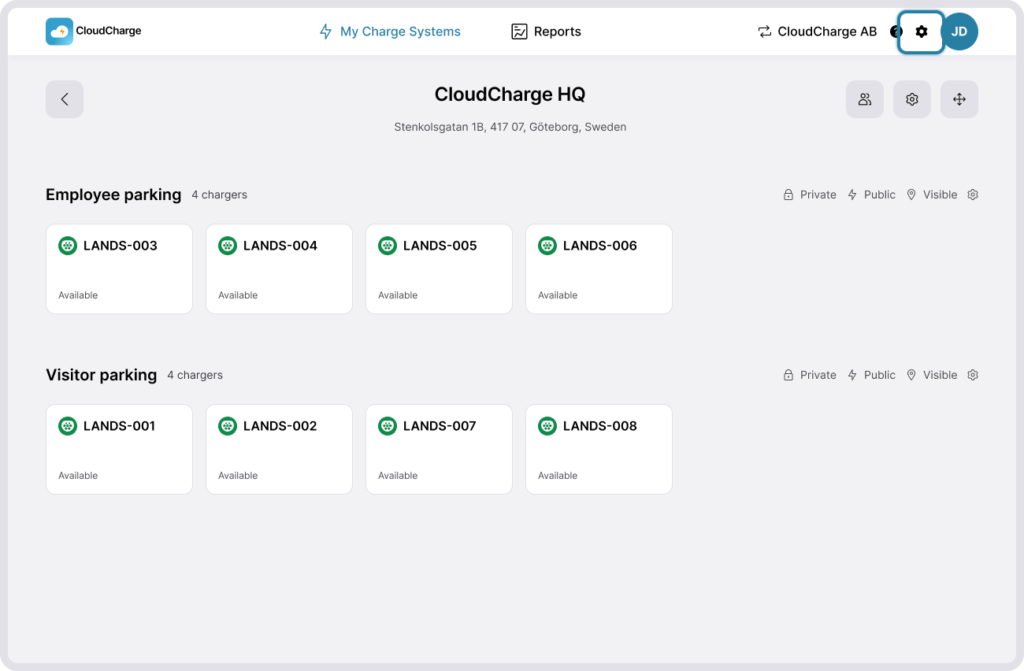
1. Go to Organization settings
Go to Organization settings and select “Receive payments” in the left panel.
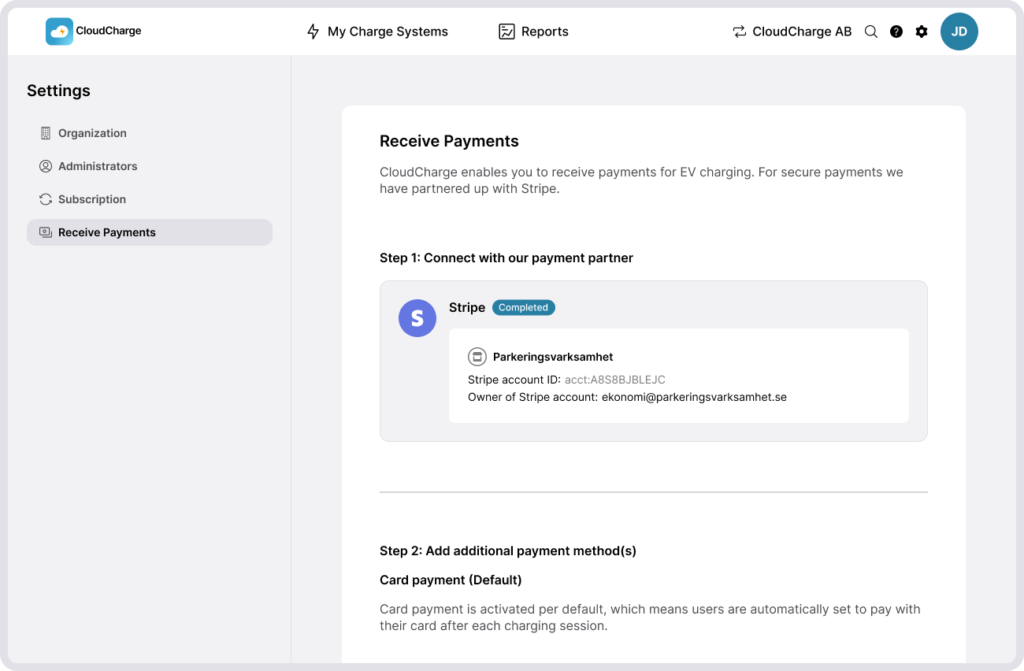
2. Connect to Stripe
If you’re not already connected to our payment partner Stripe, please do so.
3. Activate invoicing
Activate invoicing for the charge systems you wish to have it for. Notice that only Charge systems with private chargers can have invoicing enabled. Read more about private and public settings under Charger Groups.

4. Add a Fixed fee (optional)
A fixed fee is a monthly fee that can be added to each invoice. It can be added to cover administrative and investment costs. A fixed fee will be debited regardless of the user’s consumption at your chargers.
5. Go to Users
Navigate to the Charge system you’ve activated invoicing for and open the settings and go to Users.
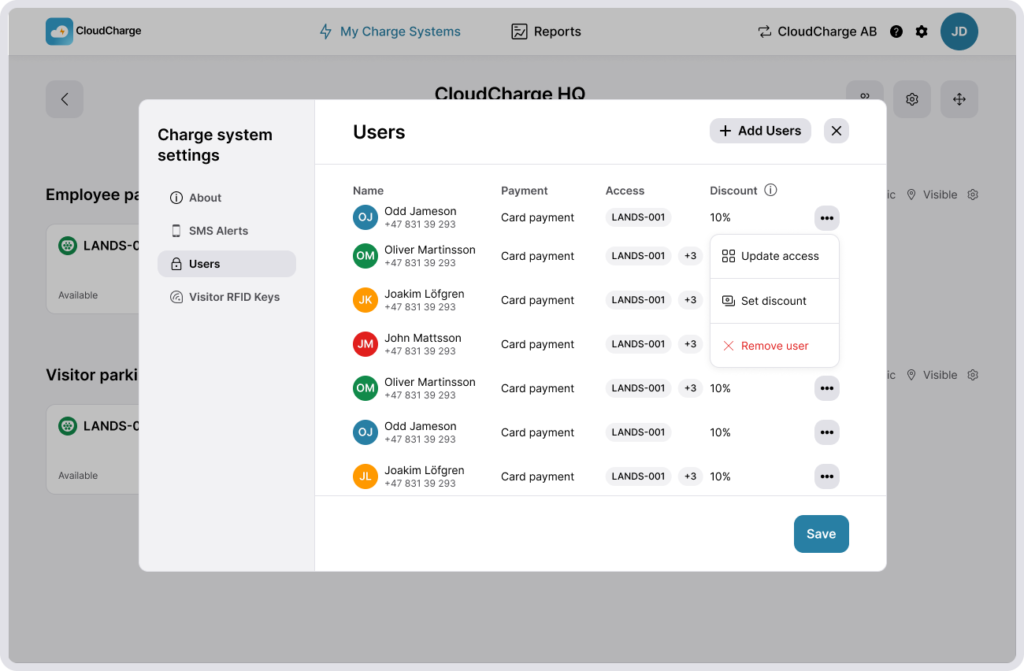
6. Choose user payment method
By default, users pay directly with a card after each charging session. To enable invocing for your users, click on the three dots next to each user and select Pay with invoice. If you wish to switch back to card payments, you can click the three dots again and select Pay with credit card.