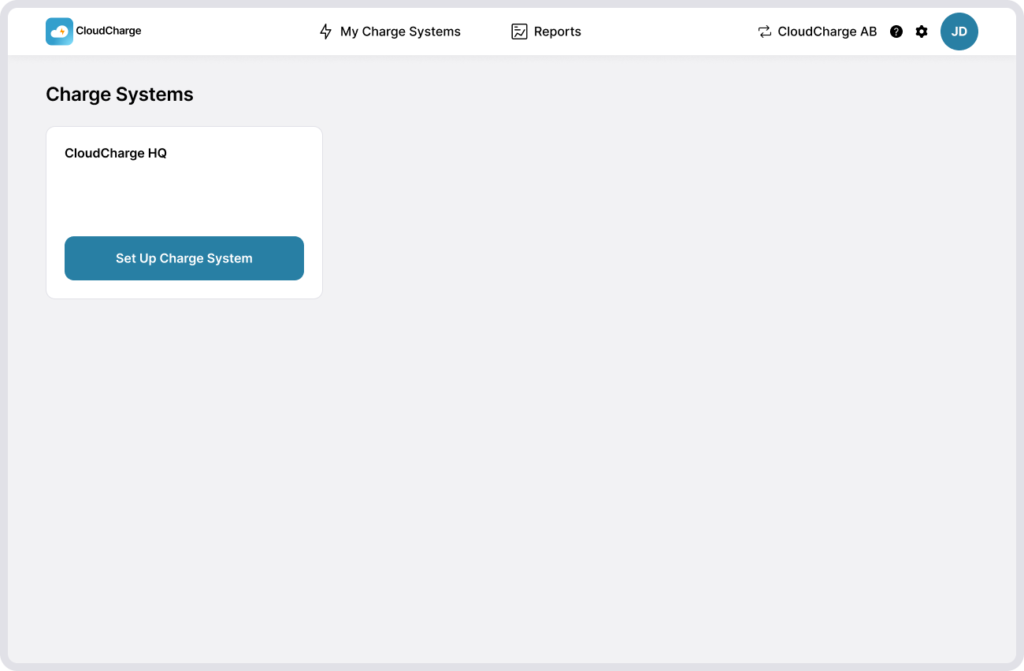
Get started with your CloudCharge subscription
You’ll be guided through the onboarding where you’ll activate your CloudCharge subscription, set up a payment method for your users, and configure your charge system. To start the onboarding process, you’ll need to create a personal account or log in.
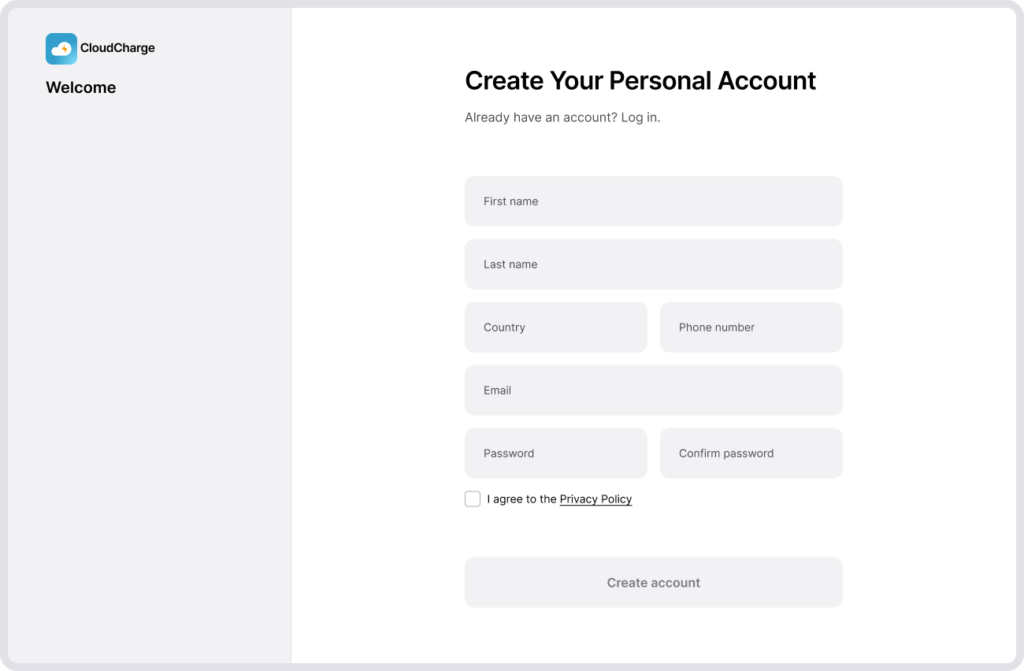
1. Create your personal Admin account
First, create a personal Admin account to gain access to the CloudCharge Portal.
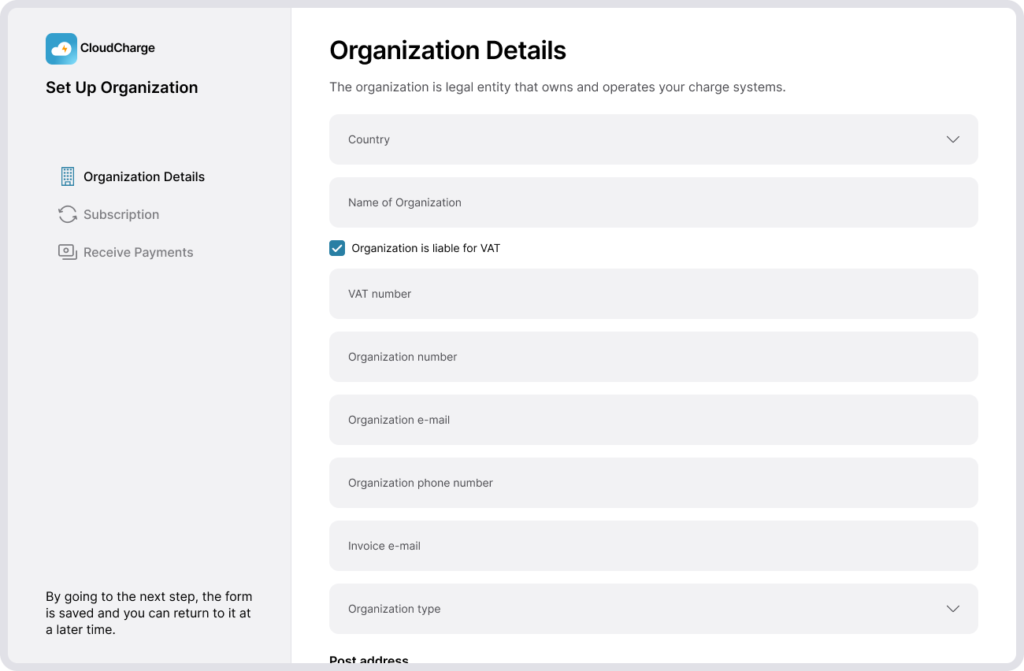
2. Fill in your Organization details
Information needed:
- Name of Organization
- Organization number
- VAT number: Enter this if your organization is VAT liable
- Organization phone number: Your primary contact phone number. We recommend not to use a personal number.
- Organization email: Your primary contact email address. We recommend not to use a personal email address.
- Invoice email: You will receive subscription invoices from us at this address.
- Address: Your organization’s location.
- Billing address
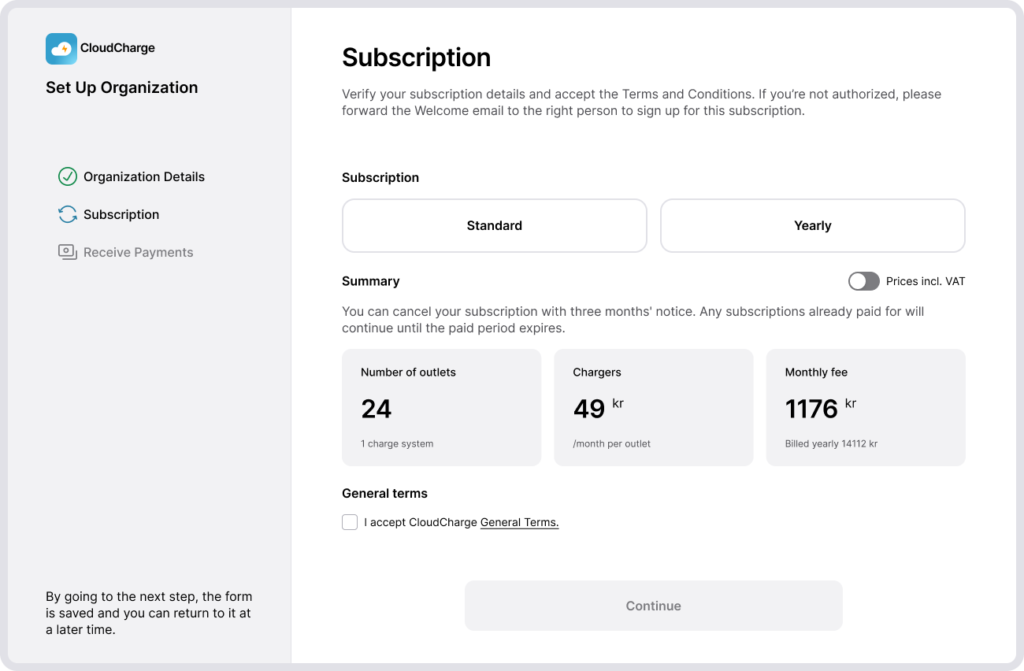
3. Activate CloudCharge subscription
By completing this step, you’ll sign up and become the owner of the CloudCharge subscription for your organization.
- Ensure the number of outlets is correct. If not, please contact support.
- Accept the General Terms
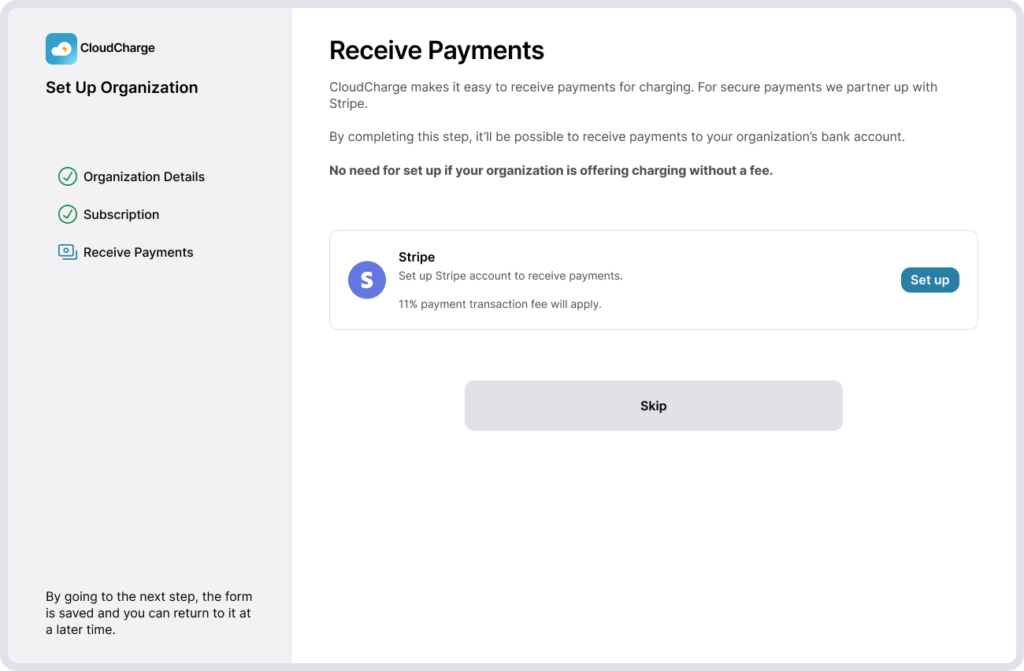
4. Decide if you want to receive payments from your users
By completing this step, you’ll enable your organization to receive payments via card or invoice to your organization’s bank account. This step can be skipped or completed at a later stage.
5. Invite other Administrators
- Enter the email address of the people you want to invite to the Portal to manage your Charge Systems.
- The invitees will receive an email invitation to join your organization.
- Once the invite is accepted, you’ll see the invited administrator in the list of active administrators.
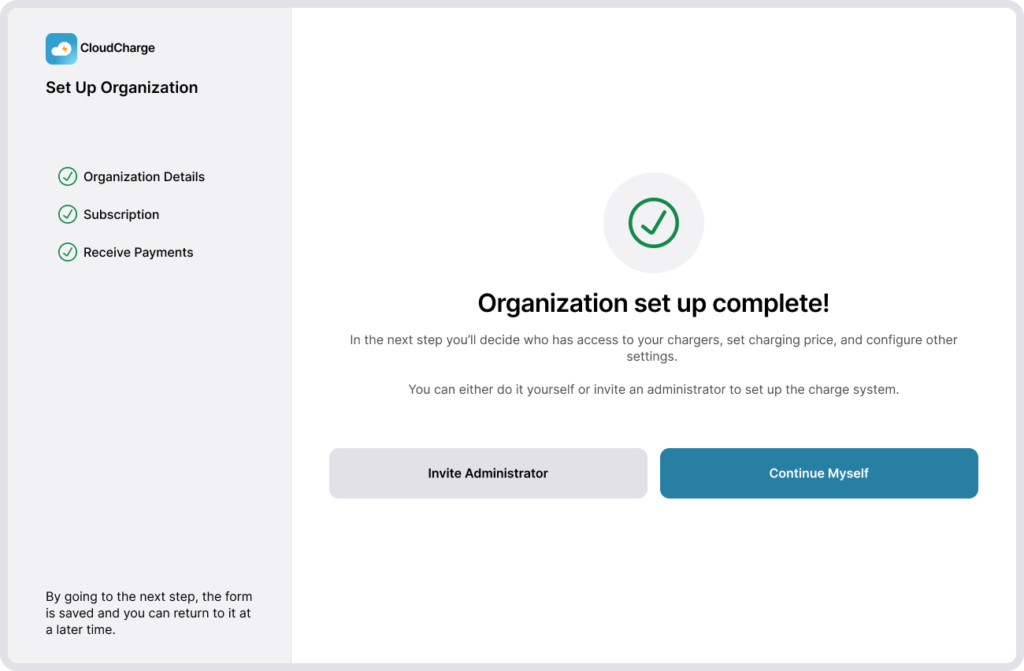
6. Set up your Charge System
In this step you’ll decide who has access to your chargers, set the charging price, and configure other settings.
