Charge and Pay at a Public Charger
In this guide:
To use a public charger with a charging fee, you will need to pay using your payment card. The payment won’t be processed until you’ve finished charging. The payment will go to the owner of the charger.
Find a Public Charger
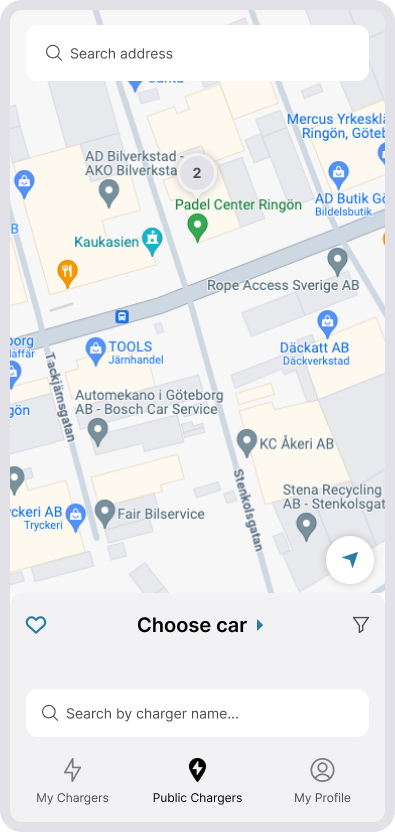
Public chargers connected to the CloudCharge network can be found in the Public Chargers map. Click on the bottom tab and start exploring available chargers.
Tap the My Location symbol to zoom in on your current location.

Start Charging
1. Select Charger Location
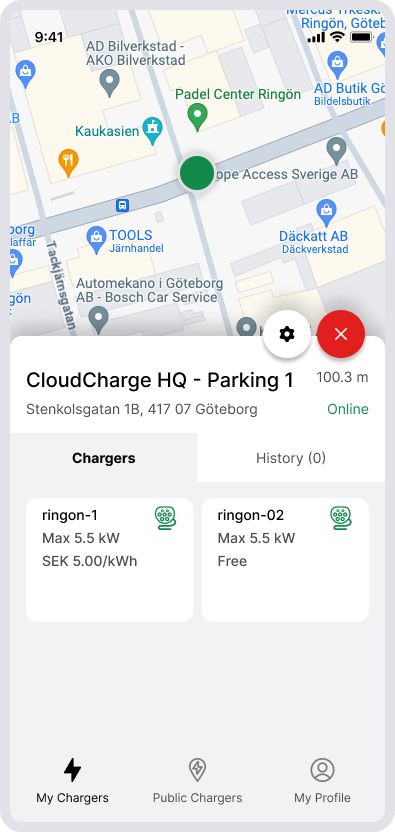
When you select a pin on the map you’ll see a list of chargers at the selected location. You can view available chargers, their max power, and price.

2. Select outlet
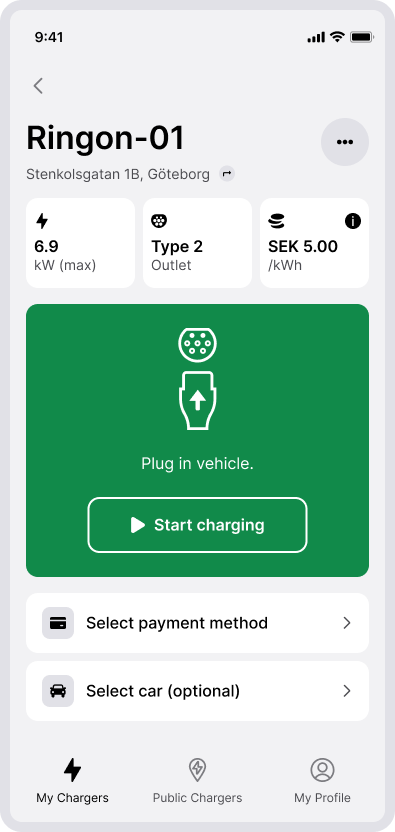
Select the outlet you want to charge at.

3. Select Payment Method
Choose the payment card to use for charging. You can add a new card if needed.
The first time, you must register a payment card. Follow the instructions in the app. There is no fee to register a payment card. Depending on the card issuer, you might need to approve the addition of the card through 3D Secure, such as an authentication code, Bank ID, or similar.
4. Create account
If you want to keep track of which vehicle you are charging, you can select your vehicle.
5. Plug in Cable and Start Charging
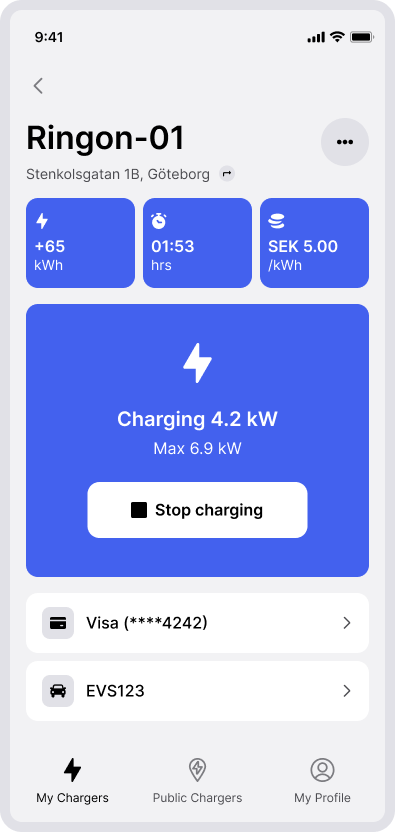
Plug the charging cable into your vehicle and tap Start Charging. Wait for your vehicle to start charging. Check that the status in the app changes to Charging.

Stop Charging
To stop charging, you can either unplug the cable from your vehicle or tapping Stop Charging in the app. You can always find your active charging session by tapping the pulsing battery icon on the Public Chargers map.
Get Receipt
After charging, you can find your receipt in the My Profile tab. The receipt can be exported for reimbursement. Read more about managing your receipts and making reimbursements here.