Create a Stripe Express Account
In this guide:
By deciding to create a Stripe Express Account, you’re on your way to handling payments seamlessly and securely. The detailed information required by Stripe is a part of their commitment to comply with stringent Anti-Money Laundering (AML) regulations, ensuring a safe and reliable financial environment for your business operations.
Stripe account is the key for all money transfers between facility owners, end-users and CloudCharge. We recommend that the same person, who is responsible for bank accounts in your organization, has also Stripe account.
Preparations
Before getting started, this is the information you will need:
1. Organization Details
- Legal name and registered address.
- Company registration and VAT number.
- A link to your organization’s website or Facebook page. If unavailable, provide a description, such as “EV charging”.
2. Banking Information
- IBAN number for the bank account where you wish to receive payments.
3. Personal Information for Key Individuals:
- This includes the person responsible for the Stripe account (ideally someone from finance), members of the Board of Directors, executives, and/or potential owners.
- For each person listed, you will need their full name, email address, birthdate, and address.
Create Stripe Account
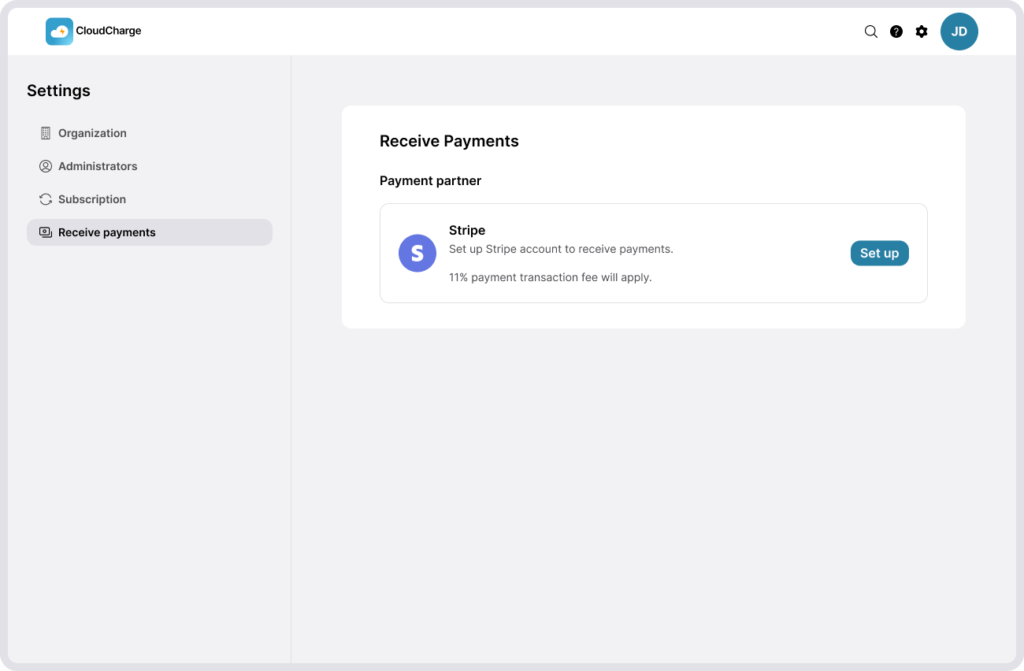
You start to create a Stripe Express Account either in the onboarding as a new customer, or later in Receive Payments under Organization settings.
1. Gather Required Information
Compile all the necessary information listed above to ensure a smooth setup process, adhering to Stripe’s Know Your Customer (KYC) and Anti-Money Laundering (AML) requirements, see above.
2. Follow Stripe´s wizard to create a Stripe Express Account
A new page will open for Stripe account setup. If you already have a Stripe account, you can log in with your existing details.
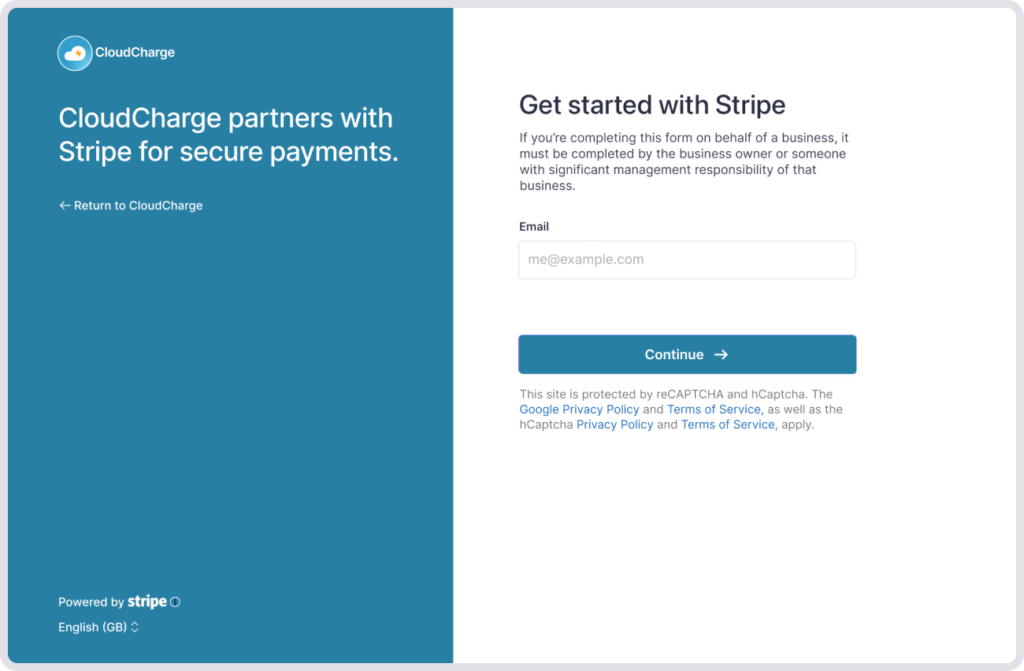
Adhere to the instructions in Stripe’s setup guide for account creation.
Please note: Select your company type and structure that best describes your business from the provided list. Choices range from individual businesses to various company structures and non-profit organizations.
3. Finalization and Return to CloudCharge
After completing the setup on Stripe, you’ll be redirected back to the CloudCharge.
On the screen, you should now see the status of your Stripe Account.
- Completed: You can receive and payout payments
- Enabled: You can receive and payout payments as of now, but further information must be provided to Stripe for continuous payments.
- Restricted: Immediate action is required! You cannot receive payments or make payouts from your Stripe account. Click on the link on the Stripe page to go to your Stripe account and provide the requested information.